Digital signage video walls are growing in popularity, and the reasons are clear. They are visually stunning, interactive, and eye-catching—ideal for content presentation in large spaces.
In the past, video walls were primarily for large organizations with ample budgets, such as airports, shopping malls, and stadiums. Today, thanks to advances in LCD display technology and falling hardware costs, businesses and institutions of nearly any budget can build 4K video walls to communicate information effectively. Qtenboard offers flexible commercial-grade solutions to help clients build high-quality LCD video walls tailored to their needs.
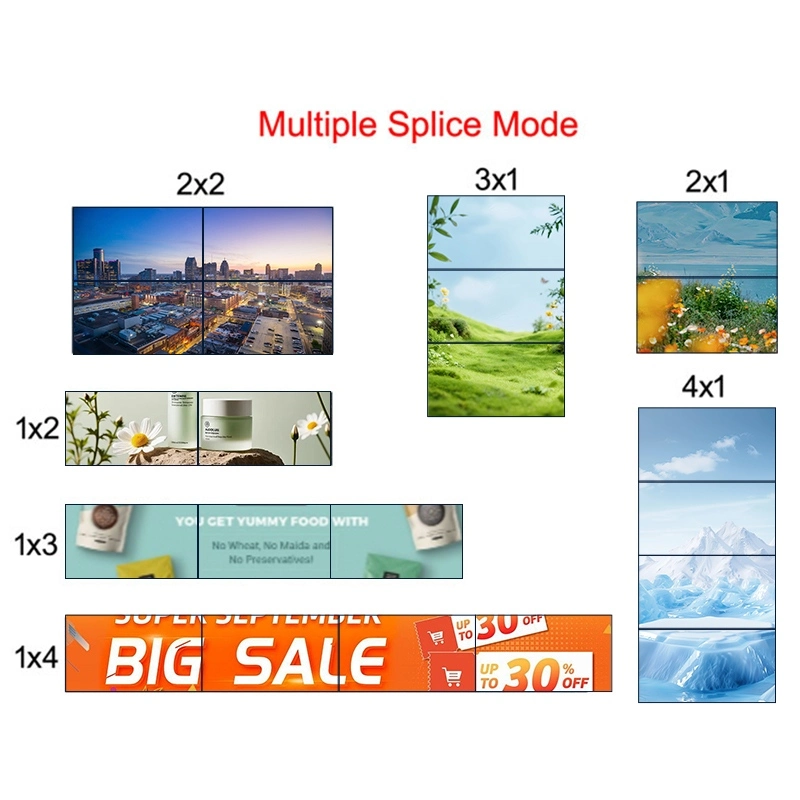
The first step is to decide on the number of displays and their arrangement. There are two common layout options:
Configuration 1: Square Layout
Configuration 2: Rectangular Layout
Proper planning ensures display resolution, aspect ratio, and content layout match the overall setup.
Choosing the right panels is critical for image quality and long-term reliability. When selecting LCD video wall panels, consider these factors:
Qtenboard panels deliver consistent color accuracy, high contrast, and wide viewing angles (up to 178°), ensuring the video wall looks clear and uniform from any angle.
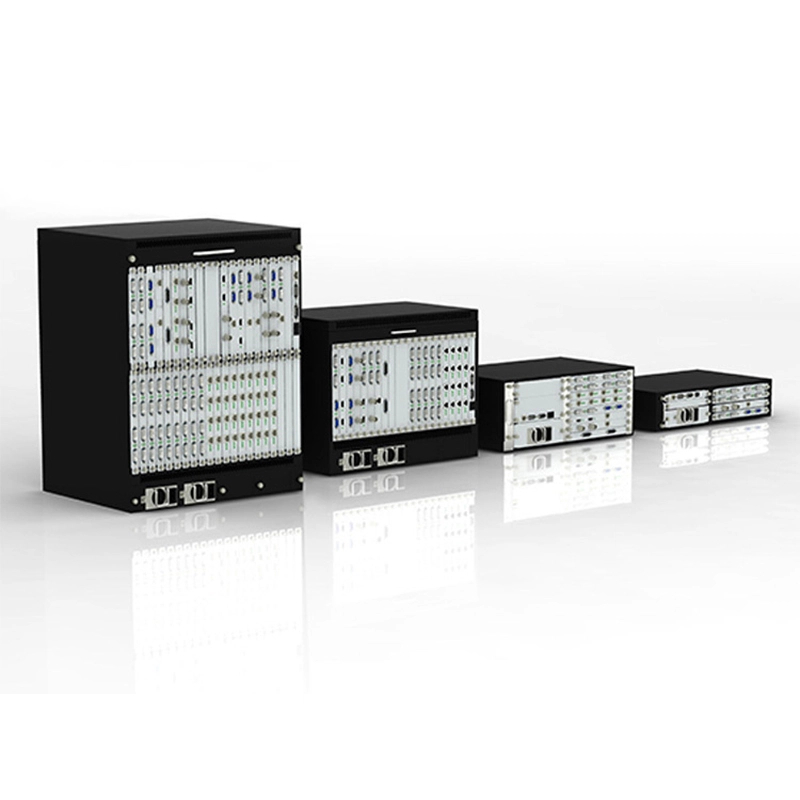
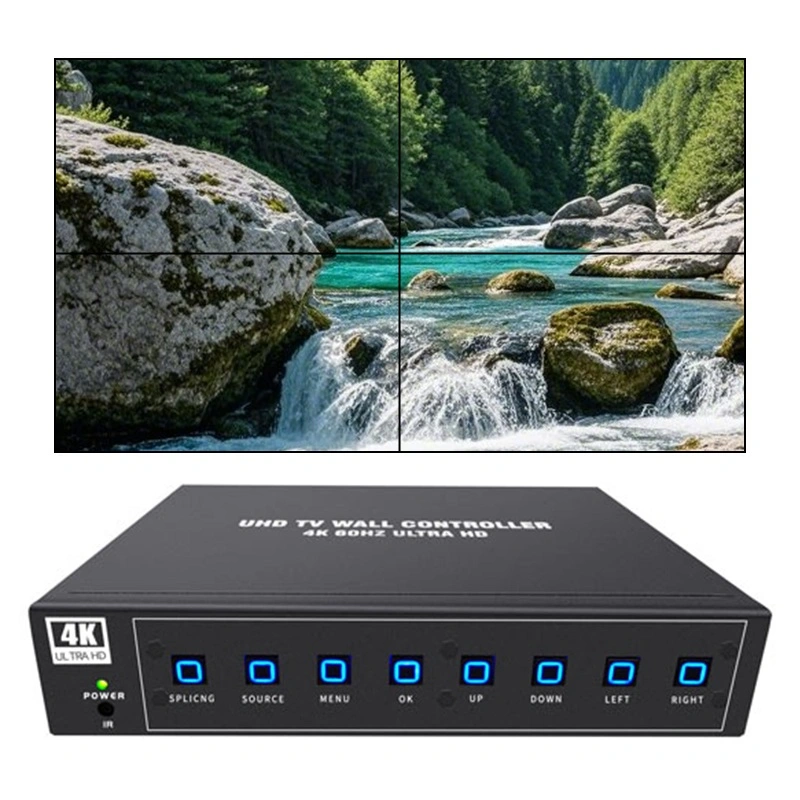
A video wall controller distributes content from the media player to each panel in the correct format:
The controller ensures smooth scaling, precise positioning, and synchronized playback of content across all screens.
Proper installation is critical for alignment, stability, and maintenance:
Cable management is essential for a professional, clean look. Route power and signal cables inside structural columns or behind panels to reduce clutter.
The content displayed on the video wall is just as important as the hardware itself. Key considerations:
Qtenboard video walls support multi-window display, full-screen content, and dynamic switching, offering flexibility for different presentation needs.
Once panels are installed and the controller is connected:
Qtenboard provides professional support and guidance at this stage to ensure every installation meets high visual standards.
Proper maintenance ensures reliable operation of the video wall for years:
With industrial-grade panels and proper maintenance, Qtenboard LCD video walls can operate 24/7/365 with minimal manual intervention.
Location: Malaysia
Configuration: 2×4 LCD Video Wall
Panel Size: 55 inches
Bezel Width: 3.5 mm
Resolution: 1920×1080 per panel
Installation Time: 3 days of production testing + 2 days of on-site construction
Application Scenarios: Control rooms, meeting rooms, presentation halls
Building a professional-grade video wall requires careful planning, high-quality LCD panels, precise installation, and ongoing maintenance. By following these steps and leveraging Qtenboard's commercial-grade LCD video wall solutions, businesses, institutions, and organizations can create impactful, reliable, and visually stunning displays that engage audiences and enhance communication.
Click to view product details and learn about its functional features and actual performance.
📖 Read Product Introduction
 EN
EN  MAY
MAY  TH
TH  CHT
CHT  BUR
BUR  FIL
FIL  HKM
HKM  ID
ID  LAO
LAO  SIN
SIN  VIE
VIE