This guide is written for school procurement teams, IT managers, installers and system integrators planning a Qtenboard interactive board in classroom projects. Most buyers compare screen size and system features, but the installation method, mounting height, cabling route and power plan decide whether a panel is comfortable and reliable every day. The article compares wall mounting with a mobile stand, shows how to work out the right screen height and viewing distance, explains cable and power planning, and ends with a phase-by-phase installation checklist, a table of common mistakes and scenario-based recommendations for schools.
A classroom interactive flat panel is only as good as the way it is mounted, connected and powered — the same Qtenboard panel can feel effortless or frustrating depending on height, viewing distance and cabling.
When schools evaluate smart boards for classroom use, the discussion usually centres on resolution, touch points and software. Yet the most common complaints after installation have nothing to do with those specifications: the top of the screen is out of reach for the teacher, the bottom is too high for younger pupils, students in the back row cannot read small text, the touch cable is too long to be reliable, or a trailing power cord becomes a safety problem.
Installation is therefore not a last step handled by a delivery crew — it is part of the product decision. For every Qtenboard model, from a compact 65″ to a 110″, the sections below follow the order in which a real project is planned: first how the panel will be held, then where it will sit, then how it will be connected, and finally how the work is checked and handed over.
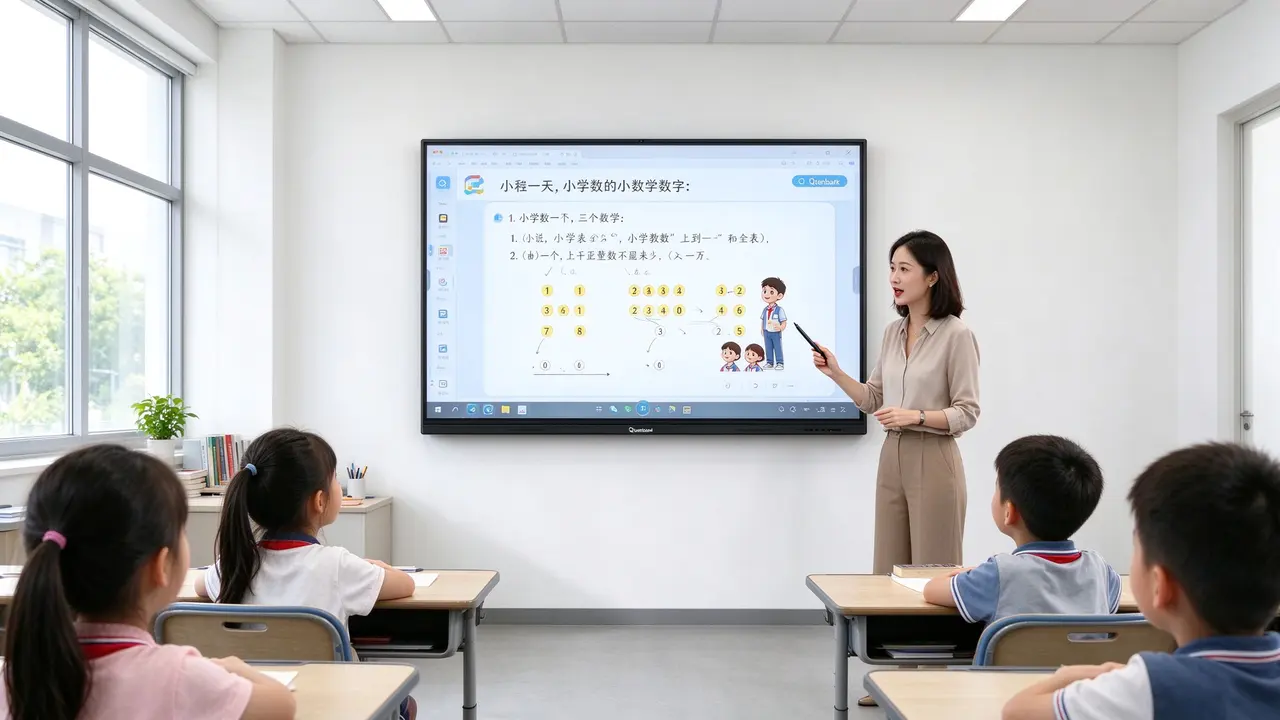
Use a fixed wall mount for a dedicated teaching room and a Qtenboard mobile stand when one panel must serve several rooms or the wall cannot carry the load.
Both options are proven in schools. The right one depends on how the room is used, what the wall is made of and who will operate the panel. Qtenboard supplies both a wall bracket and other interactive whiteboard accessories and a rolling mobile stand for interactive flat panels, so either route can be quoted together with the display.
A wall-mounted Qtenboard interactive flat panel is the default choice for permanent classrooms. It keeps the floor clear, holds the screen at one fixed height, hides most of the cabling behind or inside the wall and gives the most stable touch experience because the panel never moves.
A rolling stand lets one Qtenboard panel move between classrooms, labs and halls. It also avoids drilling into walls that are rented, protected or structurally unsuitable. The Qtenboard stand comes in two specifications — the R10 supports up to 150 KG and the R12 up to 180 KG — with high-strength steel dual-column support, four silent casters that rotate 360° and lock, and trays for a remote control or small devices. The package includes the stand body, trays, hanging brackets, casters and installation hardware including a wrench and Allen wrench, and safety screws help prevent the display from falling.
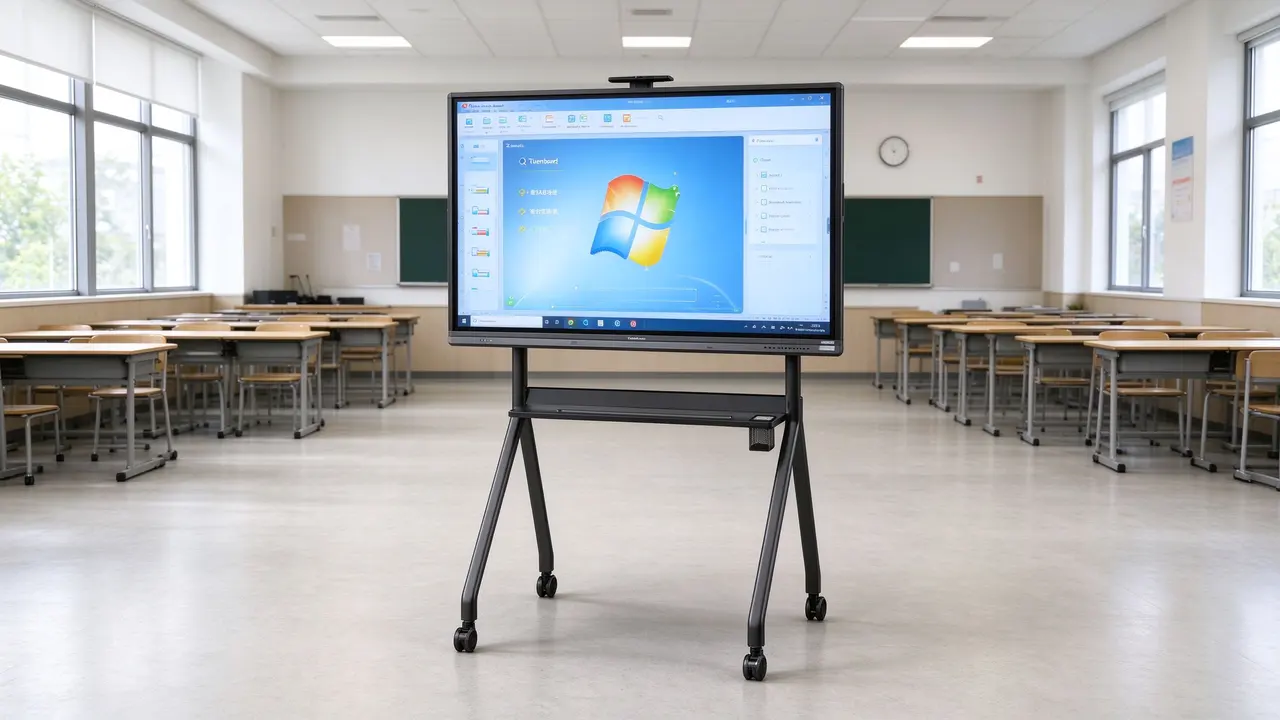
| Kriterya | Fixed Wall Mount | Mobile Stand |
|---|---|---|
| Stability while writing | Highest — panel is rigidly fixed | Good when casters are locked on a flat floor |
| Floor space | None used | Stand footprint plus a clear path |
| Pagkakabagay | One room only | Move between rooms |
| Wall requirements | Load-bearing wall or reinforced backing | No wall work needed |
| Cable neatness | Easy to conceal in trunking or wall | Needs cable management on the stand |
| Height adjustment | Fixed once installed (unless an adjustable bracket is used) | Set by the stand design and mounting position |
| Typical use | Permanent classrooms | Shared rooms, training halls, temporary sites |
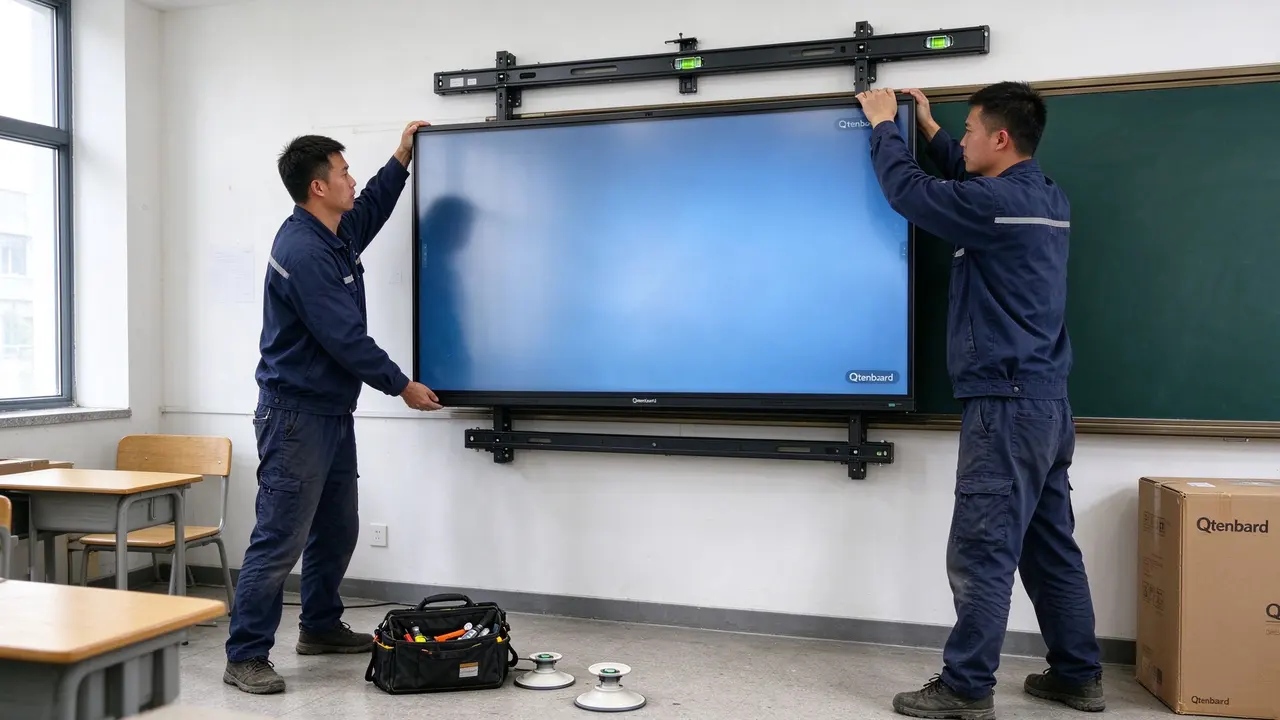
Safety first. Qtenboard interactive flat panels from 65″ upward are heavy and have fragile glass. Always check the real weight on the datasheet, use a bracket and anchors rated well above it, lift with at least two people, and have structural and electrical work done by qualified installers following local regulations.
The right mounting height for a Qtenboard classroom smart board is set by who writes on the board and how far the farthest student sits — not by a single universal number.
Height and position are the most visible installation decisions. A good result lets the shortest user reach the lower writing area and the tallest user reach the upper area comfortably, while every student can read the content from their seat.
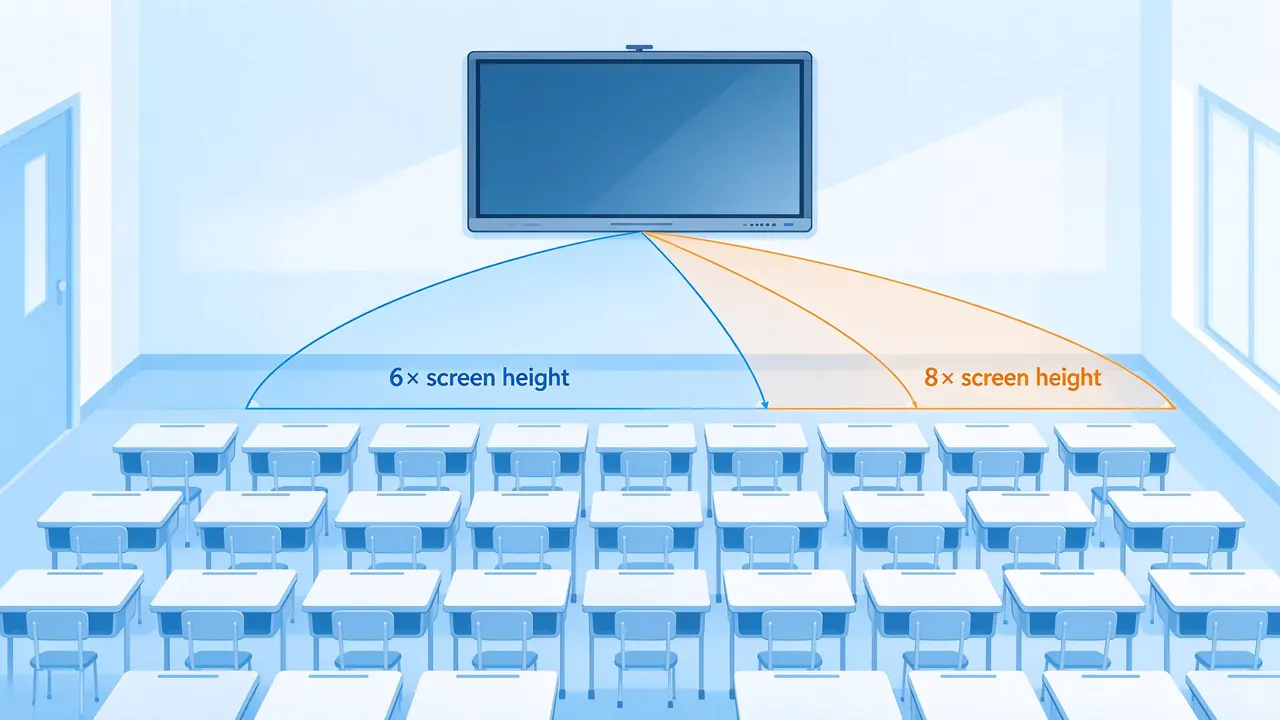
Before marking the wall, know how much space the display takes. The table below gives the approximate active screen area of a 16:9 Qtenboard panel at each size, plus a viewing-distance guide based on the commonly cited AV planning rule of thumb that the farthest viewer should sit within roughly 6–8 times the screen height. Treat it as a planning aid, not a standard requirement; the outer frame is larger than the active area, so confirm final dimensions and weight on the product datasheet.
| Laki ng Panel | Approx. Active Area (W × H) | Farthest Viewer — Detailed Content (≈6× height) | Farthest Viewer — Basic Content (≈8× height) |
|---|---|---|---|
| 55″ | 1,218 × 685 mm | ≈ 4.1 m | ≈ 5.5 m |
| 65″ | 1,439 × 809 mm | ≈ 4.9 m | ≈ 6.5 m |
| 75″ | 1,660 × 934 mm | ≈ 5.6 m | ≈ 7.5 m |
| 86″ | 1,904 × 1,071 mm | ≈ 6.4 m | ≈ 8.6 m |
| 98″ | 2,170 × 1,220 mm | ≈ 7.3 m | ≈ 9.8 m |
| 110″ | 2,435 × 1,370 mm | ≈ 8.2 m | ≈ 11.0 m |
Measure the distance from the board wall to the last row of desks, then choose the smallest Qtenboard size that keeps that row inside the range for the type of content you display. Text-heavy courseware and spreadsheets need the tighter, detailed-content distance. See our range of Qtenboard smart boards for classroom use in 55″–110″ to compare sizes.
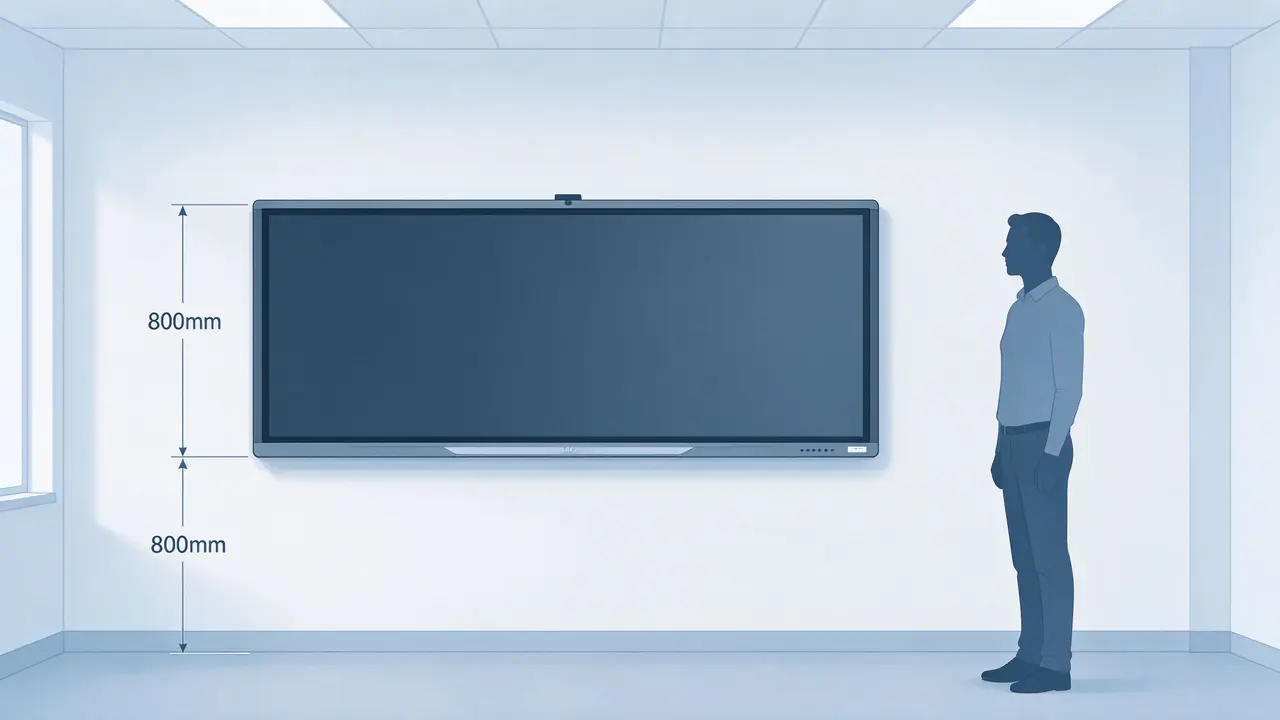
Set the height of the bottom edge of the display, then check the top edge. The top edge equals the bottom edge plus the panel's outer height, so a taller panel at the same bottom edge reaches higher than most users can comfortably touch. Use the starting points below, then confirm with a quick reach test on site: have the shortest regular user touch the lower writing area and the tallest regular user the upper area.
| User Group | Starting Point: Bottom Edge Above Floor | What to Verify on Site |
|---|---|---|
| Primary school (younger pupils) | ≈ 600–800 mm | Smallest pupil can reach the lower writing area and the teacher can still reach the upper area |
| Secondary school | ≈ 800–950 mm | Mixed-height users reach both zones without stretching |
| University and adult training | ≈ 900–1,050 mm | Presenter reaches the main working area; far rows see the lower edge over the heads in front |
| Rooms with wheelchair users | Lower or adjustable | Seated user can reach the full writing area; include accessibility in the site survey |
Planning ranges, not rules. These figures are practical starting points used when planning classroom installations of Qtenboard panels. Local standards, school policies and the age and height of your users should always take priority.
Decide the route of every cable — power, video, touch and network — before the bracket goes on the wall, because moving one afterwards means reopening the installation.
A neat installation starts with a short, simple cable plan. For the Qtenboard interactive flat panels, the main interfaces include HDMI in and out, USB and Type-B for touch return, Type-C, DP, VGA, RJ45 in and out, a TF card slot and optional RS232, plus power input of AC 100V–240V at 50–60 Hz with standby consumption of 0.5 W or less.
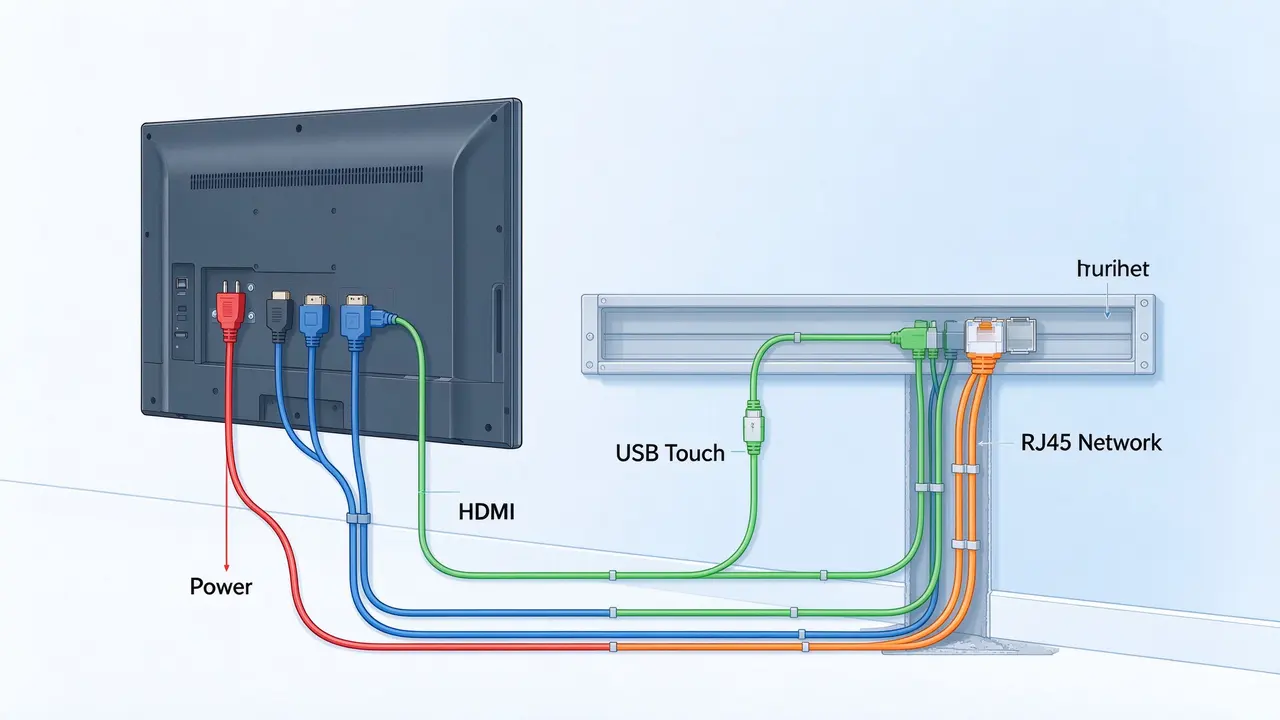
| Signal Path | Typical Connection | Practical Note |
|---|---|---|
| Picture and sound from a teacher laptop or PC | HDMI (or USB-C where supported) into the panel | Passive cables work reliably only up to a few metres at 4K; use active, optical or extender solutions for longer runs |
| Touch from an external computer | USB cable from the computer to the panel's touch port | Touch and HDMI are separate paths — an external PC needs both for full interactivity |
| Network | RJ45 wired, or WiFi 2.4G/5G | Wired network is preferred for stable remote management and updates |
| Windows computing | Embedded OPS computer in the panel's slot | No external cables for the computer, which reduces clutter |
| External audio and camera | USB, HDMI or analog as per device | Plan ceiling microphones and speakers together — see the digital classroom AV solution kit |
If you are installing several rooms, give each panel a network connection at the planning stage. Qtenboard's DMS remote management system supports remote upgrades, status monitoring, scheduled power and app distribution, which saves repeated site visits across a school or campus.
Place the teacher's desk or lectern so cable runs to the panel stay short and out of walkways. If the teacher mainly uses on-board lesson tools, the smart whiteboard for teaching software runs directly on the panel and reduces the number of devices on the desk.
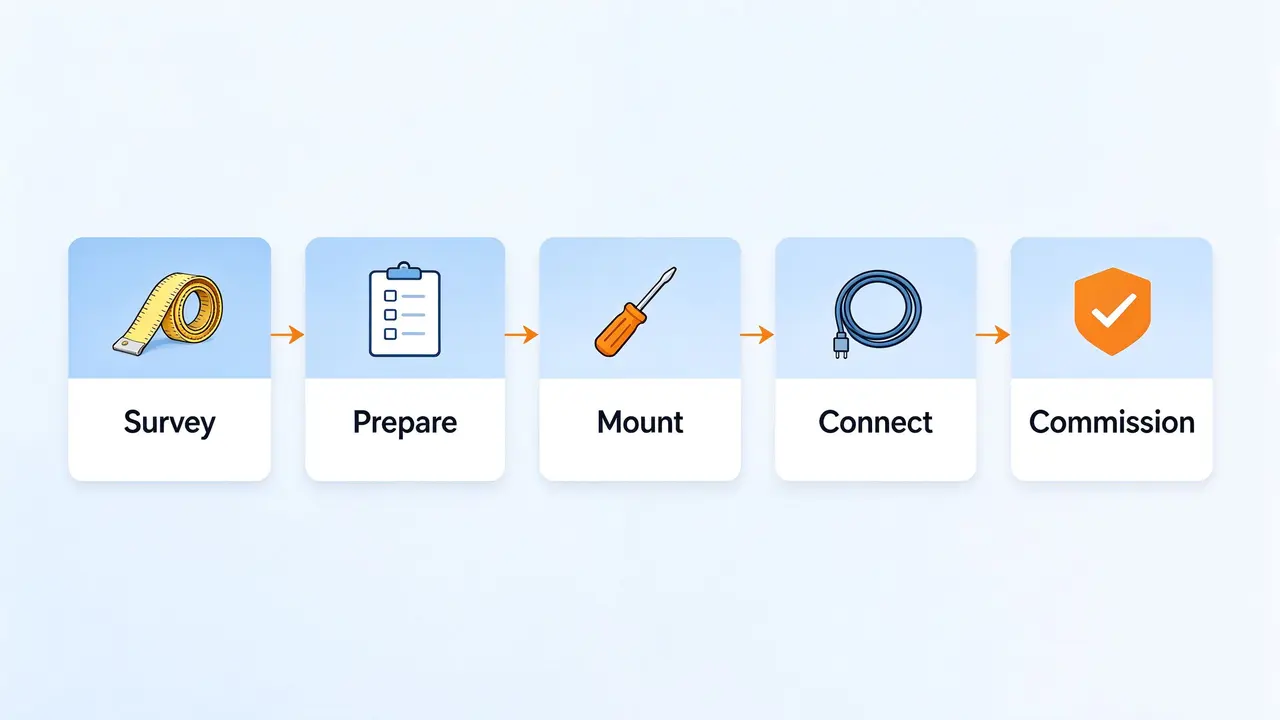
A reliable Qtenboard installation follows five phases — survey, prepare, mount, connect and commission — and each phase has items that should be checked off before moving on.
Measure the room, check the wall, outlets and access routes.
Confirm datasheet, mark the height, gather tools and hardware.
Fit the bracket or stand, lift and secure the panel.
Run power, video, touch and network, then tidy the cables.
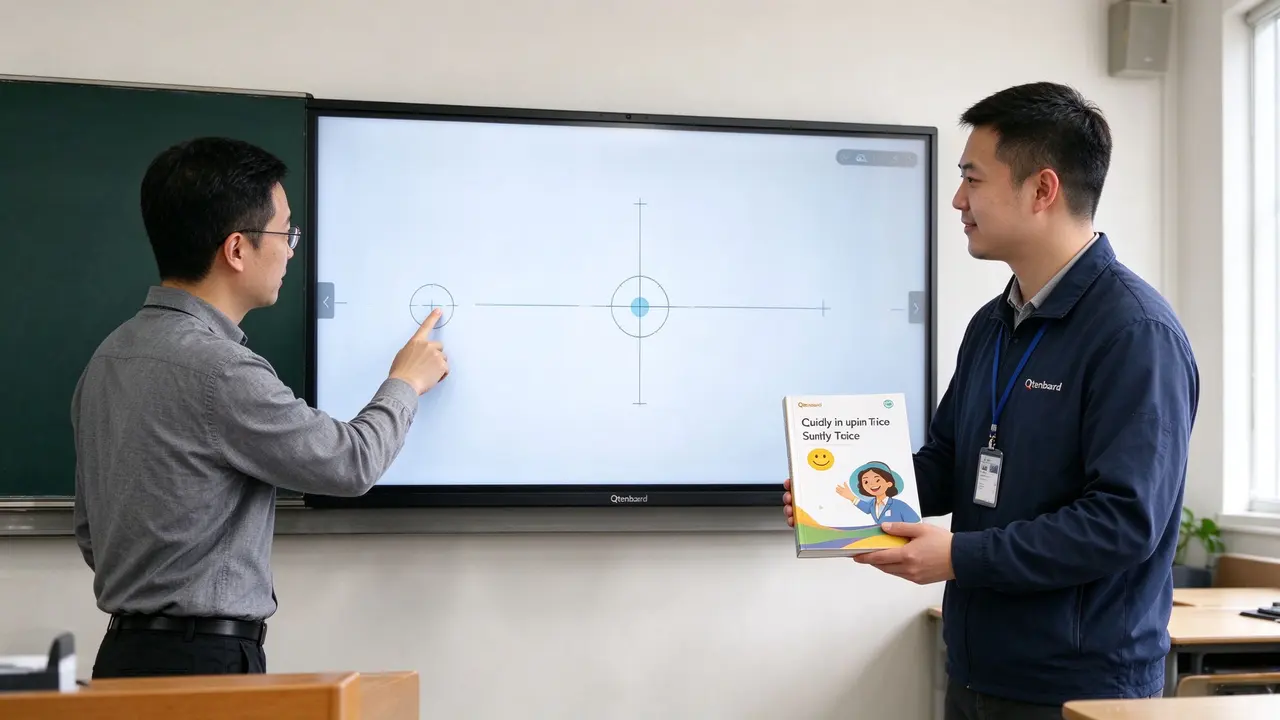
Calibrate, test, enrol for management and hand over.
Different rooms need different installation priorities, so match the method, size and height to how the space is actually used.
Most installation problems come from a short list of avoidable mistakes made before or during mounting.
| Mistake | What Happens | How to Prevent It |
|---|---|---|
| Fixing a bracket to a hollow or weak wall without reinforcement | Panel sags, loosens or becomes unsafe | Survey the wall and add backing plate or frame before mounting |
| Mounting too high for the shortest users | Younger or shorter users cannot reach the lower writing area | Use a reach test and lower the bottom edge for younger pupils |
| Choosing a size that is too small for the room depth | Back-row students cannot read text | Check the farthest seat against the 6–8× height guide |
| Overlong passive HDMI or USB cables | Flicker, dropouts or touch that stops responding | Keep runs short or use active, optical or extender solutions |
| Connecting only HDMI for an external computer | Picture appears but touch does not work | Connect the touch USB cable as well as HDMI |
| Trailing power cord across the room | Trip hazard and damaged cables | Place an outlet near the panel and hide the cable in trunking |
| Skipping touch calibration and handover | Teachers struggle and report faults that are really settings | Calibrate, test every corner and brief the teacher before leaving |
These six questions come up most often when schools plan an interactive board in classroom installation.
A: Choose a wall mount for permanent classrooms where the wall can carry the load; it is the most stable and keeps the floor clear. Choose a Qtenboard mobile stand when one panel serves several rooms or the wall cannot be drilled.
A: There is no single number. Set the bottom edge according to the youngest regular user, check that the tallest user can reach the top working area, and confirm with a reach test on site. Starting ranges are listed in Part 2 above.
A: Only with proper reinforcement. Hollow walls usually need a backing plate or structural frame so the bracket anchors into solid material. Have the wall assessed by a qualified installer before ordering.
A: Passive cables are reliable for only a few metres at 4K. For longer distances use active or optical cables, or HDMI and USB extenders, and test the touch response after installation.
A: Only if you need Windows software. The Qtenboard panel runs Android 16 with built-in whiteboard tools, and the embedded OPS computer adds Windows or Linux for specific teaching programs without extra cabling.
A: Request the datasheet for your chosen Qtenboard size from our team through the contact page. You can also browse the interactive whiteboard FAQ for general product questions.
The best interactive board in classroom projects are not the ones with the longest spec sheet, but the ones mounted, connected and commissioned around real users, real rooms and real daily routines.
Decide the installation method first, size the panel against the farthest seat, set the height from the users' reach, plan every cable before drilling, and finish with calibration and a proper teacher handover. Followed in that order, the same Qtenboard panel will feel natural to use from the first lesson.
For project planning across several rooms, see our interactive whiteboard education solutions and the successful project cases from schools around the world.

 FIL
 EN
 MAY
 TH
 CHT
 SIN
 BUR
 VIE
 ID
 LAO
 HKM